Easy Way to Prepare Perfect Honey Datemaki Rolled Omelet for Osechi
By Mom's Recipes03 May 2020
Easy Way to Prepare Perfect Honey Datemaki Rolled Omelet for Osechi
Hello everybody, welcome to my recipe site. Today I’m gonna show you a way to make a distinctive dish, Honey Datemaki Rolled Omelet for Osechi. It is one of my favourite food recipe, this time i will make it a little bit tasty. This will be really delicious.
Honey Datemaki Rolled Omelet for Osechi Recipe.
You can cook Honey Datemaki Rolled Omelet for Osechi using 7 ingredients and 6 steps. Here is how you achieve it.
Ingredients of Honey Datemaki Rolled Omelet for Osechi
Make ready 4 of Eggs.
Prepare 1 of Hanpen.
It’s 40 grams of Honey.
Take 1 tbsp of Mirin.
It’s 1 large of pinch Salt.
Make ready 1/3 tsp of Soy sauce.
Make ready 2 tbsp of Dashi stock.
Honey Datemaki Rolled Omelet for Osechi instructions
Put all the ingredients in a food processor or blender, and puree thoroughly. Pour this mixture in a mold lined with parchment paper..
Bake in a preheated 200°C oven for 10 minutes. Lower the temperature to 180°C, and bake for another 10 minutes or until browned..
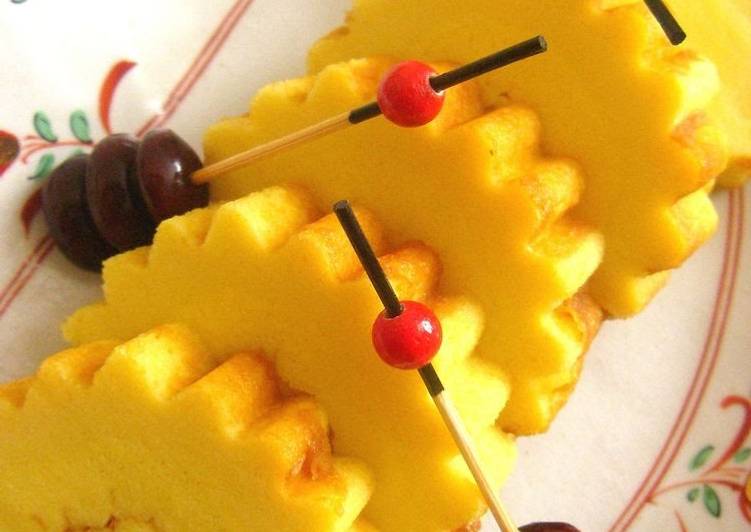
Place the cooked 'cake' on an oni-sudare (bamboo mat made from wide bamboo sticks) with the browned side down. Peel off the kitchen parchment paper and roll up the 'cake.' Or use a regular sushi rolling mate..
Secure the bamboo mat in 4 places with elastic bands. Leave until it has cooled down completely (about 3 hours), and it's done. To keep the datemaki, wrap up in plastic and refrigerate. It tastes better chilled..
I don't use a square mold often enough to justify buying one, so I make my own. Make a 21 to 22 cm square mold using an opened up milk carton. Secure with staples, and cover the surface with aluminum foil..
To open up the milk carton, don't use scissors but instead carefully peel apart the glued parts. This way you'll end up with a piece big enough to make a box with as shown in Step 5..